Lash Lifts - the prep, the process and the aftercare!
Lash lifts have become a game changer in the lash world for a few years now. They are a great way to get an instant makeover without the need for too much aftercare.
We get asked questions daily about lash lifts here at Beaches Lash Co Newport and Manly so we thought it was time to make our very own blog to answer some of them for you.
Below we have included what the process is for a lash lift, some frequently asked questions including how to look after your lash lift and what to expect during your appointment.
What is the process?
Your eyes will be closed for the duration of the lash lift. The Lash and Brow Artist will apply a silicone rod or shield to your eyelid and comb up the lashes into place. They will ask beforehand if you are wanting a more curled or lifted look. We will then apply an eye safe perming solution. We are essentially perming your lashes (the scent will give this away if you remember the hairdresser smell back in the 80s) .
This solution is what breaks the lash bond down and allows it to change shape and direction. We are super careful and time this down to the second to ensure it does not damage the natural lash. During this time, we will offer you a complimentary pressure point massage to help relax you further and also make time go a little quicker for you as we understand having your eyes closed for up to 30 minutes can feel like 3 hours!
You can also request a silent appointment with us if you are wanting to wind down and relax, either pop a note in your online booking or mention this to your Lash Artist before your appointment, we want to do whatever if comfortable and relaxing for you.
We then remove and apply the setting solution which locks the lift in place before starting the tinting process. Most tints are done using a Blue/Black tint which looks just like mascara and can last up to 4 weeks depending on how often you wash your face and also how porous your lashes are.
If you are wanting a more natural look, you can book in for no tint or ask for a brown/black tint instead.
At the end of the process, we will then apply what is known as a lash filler. The lash filler contains Myristiyl Pentapeptide -1, Biotinoyl Tripeptide -1, plus serine, theroinine, arginine, panthenol, biotin and over 8 plant extracts.
The amino acids are vegan and a replacement for the hydrolysed keratin and perform just as well. It also contains a proprietary blend of BIS PCA Dimethicone that allows bond repair technology and bond builders that are used in chemical hair treatments! Over time lash filler lengthens, strengthens and adds volume to the natural lashes hence it being known as ‘lash filler’. We do not charge any extra for this and it is included in every lash lift as we believe in looking after your natural lashes.
Do lash lifts damage the natural lash?
As mentioned above, we use a system that is one of the safest lash lifting techniques out there and as long as you care for your lashes after the appointment then they will not be damaged. If you find you twist, pull or play with your lashes, they can become damaged. Treat your lashes just as you treat your hair and skin, they also need serums and oils to keep them healthy at home. We are happy to recommend some aftercare treatments such as Elleeplex Daily Conditioner (only $36!) and we also stock one of the best lash serums on the market - LASH REHAB!
What do you need to do to maintain your lash lift?
Lash lift aftercare is simple and easy to follow which makes lash lifts one of our most popular treatments! For 24 hours, you will need to avoid hot water, make up, cleansing products and humidity. If not avoided, it can break down the solutions used and also cause damage to the lashes. We also encourage you not to play with the lashes, brushing them daily is great but if you are always pulling at them, they’re likely to become damaged over time. Finally, we recommend a good lash serum (Lash Rehab is our favourite!) to keep them super healthy and also help your lashes grow because who doesn’t want long natural lashes??
Tips for your lash lift appointment
1 - Always research, if you are reading this far down you’ve already got a good idea what to expect! If you’re not close to one of Beaches Lash Co salons, please make sure you find a reputable salon to perform your lash lift. Cheapest isn’t better and in our experience, it really isn’t worth the damage that can be done which takes months to repair. P.S We offer lash rehab if you have had a bad experience at another salon.. just message us to find out more!
2- Ingredients… Make sure you are aware of the ingredients used in all of the solutions including the tint to ensure it is unlikely to have a reaction. We offer patch tests (*for a fee!) and can also talk to you about the ingredients prior to you booking in, just give us a text!
3 - Comfort during the appointment.. You are going to be lying down for around 45 minutes with your eyes closed if there’s anything that you feel would make you more comfortable - if that’s the pressure point massage, listening to a podcast, silent appointment or having a chat with your lash artist, we can help! We do recommend if you have contact lenses and find they feel dry when you have your eyes closed, to remove them before your appointment so not to make you feel uncomfortable or irritable.
4. Come with no makeup! Avoid coming to your appointment with heavy make up or mascara on, it will all need to be removed anyway and we find the longer it takes us to clean your lashes, the longer your eyes will be closed making you less comfortable during the treatment. It can also affect the lash lift results. Also avoid waterproof mascara at least 24 hours before, waterproof is harder to remove and you may think you’ve got it all off but a lot of residue can hide within your lashes for up to 24 hours!
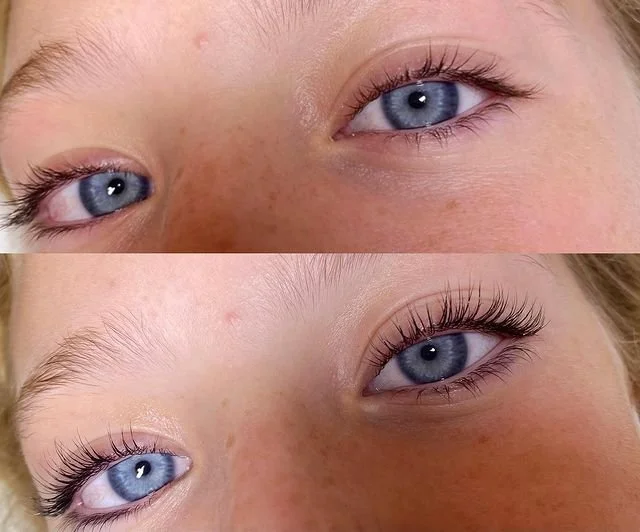
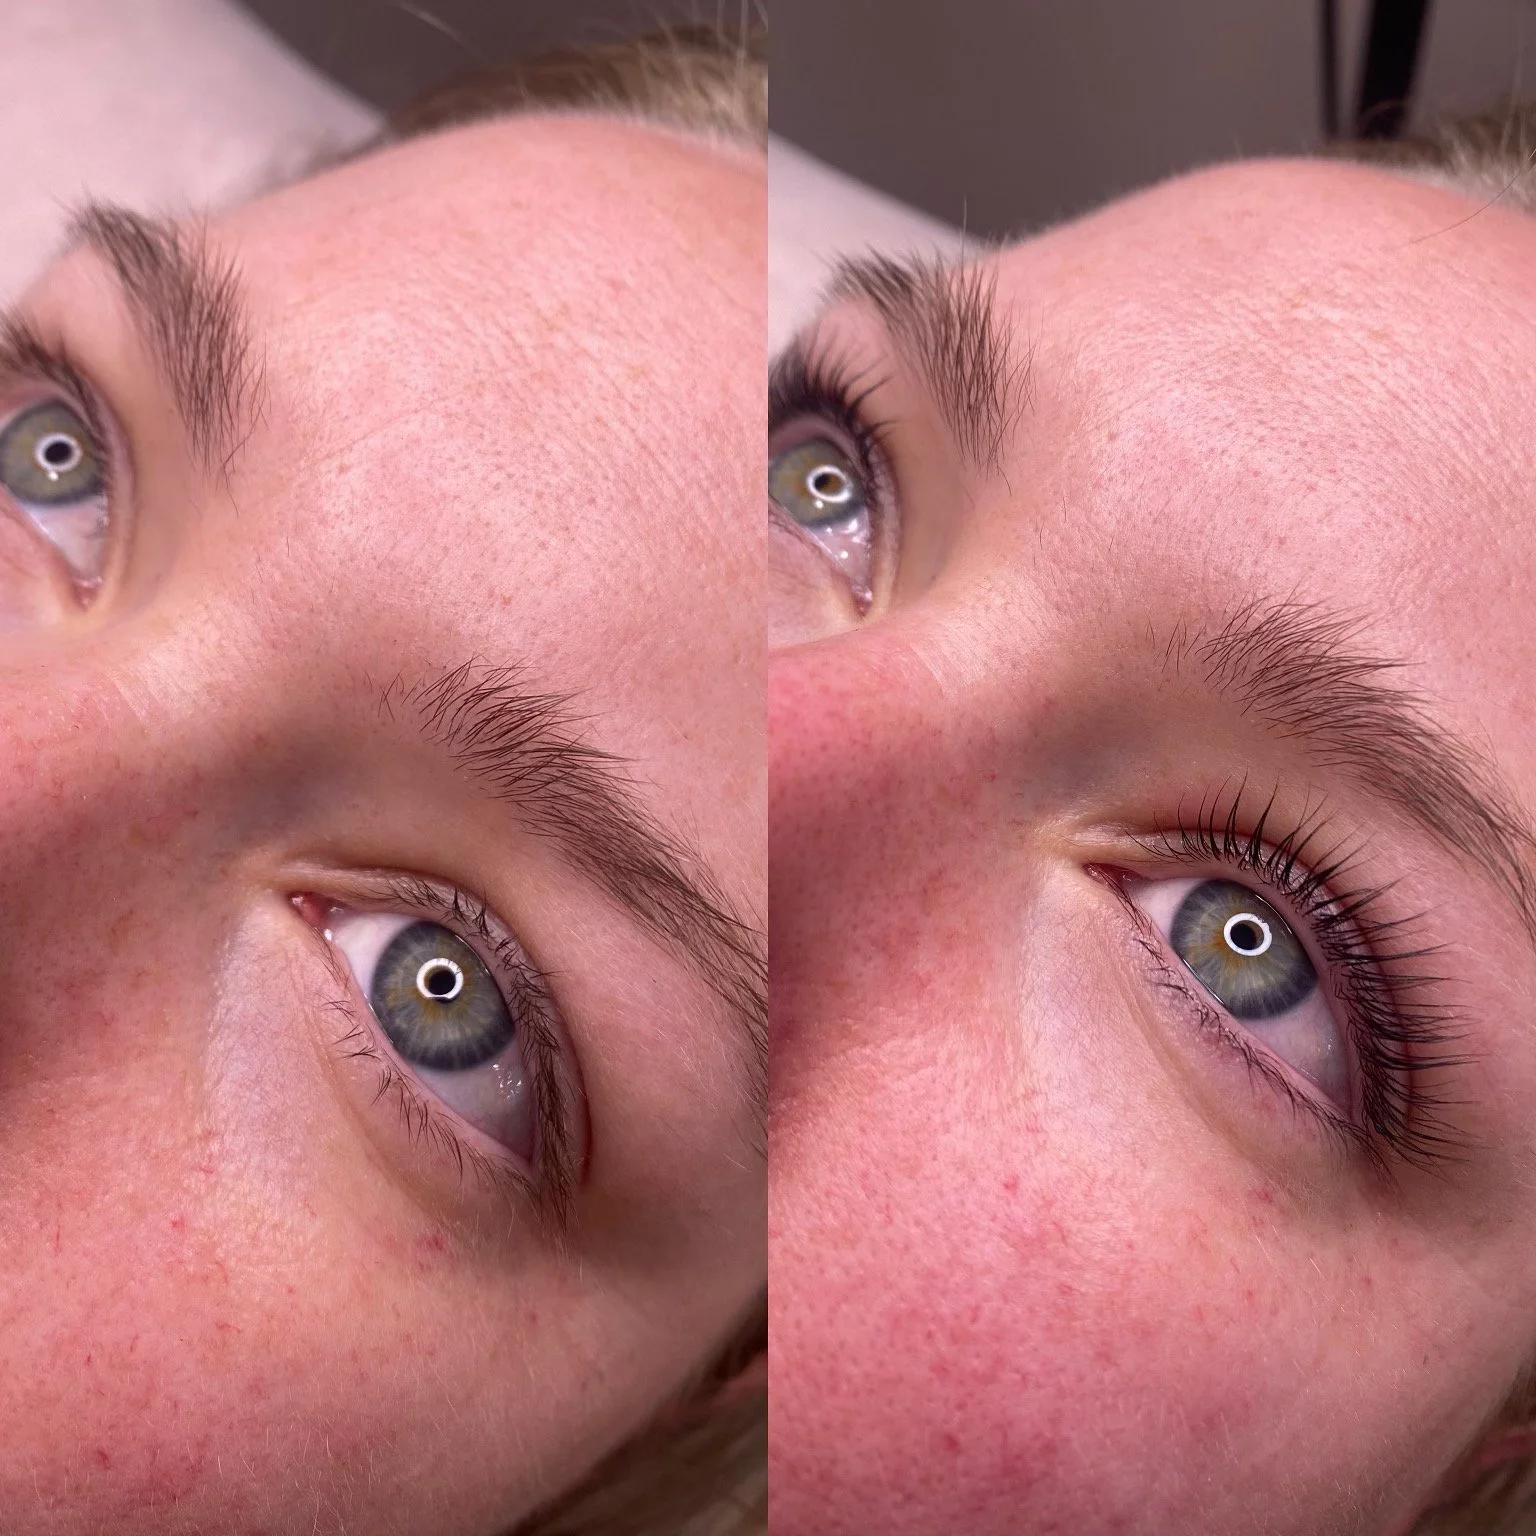
So if this hasn’t sold you on getting a lash lift, maybe these before and after pics will! We know you will love the end result so to book in please click the link below!